
Painting your brake calipers is an easy yet powerful way to customize your vehicle’s appearance. This Guide to Caliper Painting will walk you through everything you need to know to achieve a professional, bold finish. Whether you’re a DIY enthusiast or a car detailing professional, caliper painting instantly elevates the visual impact of your wheels.
Why Consider Caliper Painting?
Enhance Aesthetics with Caliper Painting
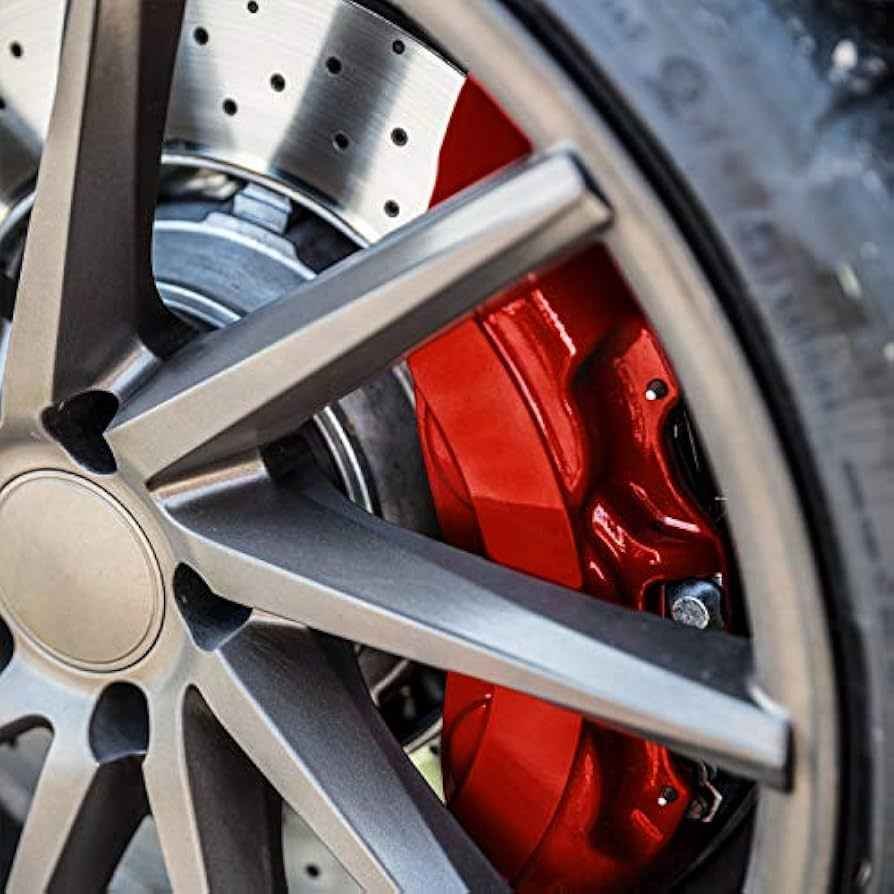
One of the primary reasons car owners seek a Guide to Caliper Painting is to improve their vehicle’s aesthetic appeal. Standard calipers often come in dull metallic finishes, which can look outdated or blend into the wheel. Painting them in vibrant colors like red, yellow, or blue adds a sporty and premium touch to any car.
Protection Against Corrosion
Another advantage covered in this Guide to Caliper Painting is rust prevention. Brake calipers are exposed to water, salt, and debris daily. A high-temperature caliper paint protects them from corrosion, extending their life and maintaining a clean look.
Preparing for Caliper Painting
Gather the Right Supplies
Before starting your caliper painting project, this Guide to Caliper Painting recommends gathering the following tools:
- Caliper cleaner or brake cleaner
- Wire brush and sandpaper
- High-temperature caliper paint
- Paintbrush or spray applicator
- Masking tape and protective coverings
Having all supplies ready ensures a smooth, uninterrupted painting process.
Safety First
Safety is crucial in this Guide to Caliper Painting. Always ensure the vehicle is on a stable jack stand before removing wheels. Wear gloves and protective eyewear when handling chemicals like brake cleaner to avoid skin and eye irritation.
Step-by-Step Guide to Caliper Painting
1. Remove the Wheels
Begin by loosening the lug nuts and lifting your car using a hydraulic jack. Place the car securely on jack stands and remove the wheels to expose the brake calipers.
2. Clean the Calipers Thoroughly
Cleaning is an essential part of this Guide to Caliper Painting. Use brake cleaner and a wire brush to scrub off dirt, rust, and debris from the caliper surface. Any leftover grime will prevent paint from adhering properly.
3. Sand and Smooth the Surface
Lightly sand the caliper to remove stubborn rust spots and create a smooth surface for paint application. This step enhances paint adhesion, which is a critical tip in every Guide to Caliper Painting.
4. Mask Surrounding Areas
Using masking tape and protective coverings, cover brake discs, pads, and other nearby components to avoid accidental paint splashes.
5. Apply the Caliper Paint
This Guide to Caliper Painting recommends applying thin, even coats. Allow each coat to dry as per the paint manufacturer’s instructions before applying the next. Multiple thin coats produce a more durable and professional finish compared to thick single coats.
6. Let the Paint Cure
Once painting is complete, let the calipers cure for the recommended time. Avoid reattaching wheels or driving the vehicle until the paint has fully set to prevent smudging or damage.
7. Reinstall Wheels
After curing, reinstall your wheels and tighten the lug nuts securely. Lower your car from the jack stands, and your caliper painting project is complete.
Popular Colors for Caliper Painting
Choose the Right Shade
This Guide to Caliper Painting highlights popular color choices that provide a bold look:
- Red: Classic sports car aesthetic
- Yellow: High-performance appearance
- Blue: Premium yet understated style
- Black: Clean, subtle enhancement
Choose a color that complements your vehicle’s body paint and wheel finish for maximum visual impact.
DIY vs. Professional Caliper Painting
Is DIY Caliper Painting Worth It?
While this Guide to Caliper Painting explains DIY steps, some car owners prefer professional services. DIY painting is cost-effective but requires patience, attention to detail, and the right tools to achieve a flawless result.
Benefits of Professional Caliper Painting
Hiring professionals ensures proper preparation, paint application, and curing using specialized equipment. Professionals can also provide custom designs, decals, and ceramic coatings for calipers, offering durability and a factory-like finish.
Maintaining Painted Calipers
Cleaning Tips
Maintaining your painted calipers is easy if done correctly. This Guide to Caliper Painting recommends:
- Washing calipers regularly with non-acidic wheel cleaner
- Avoiding harsh brushes that can scratch paint
- Reapplying protective sealants to maintain gloss
When to Repaint
Over time, exposure to heat, brake dust, and road debris can cause paint to fade or chip. This Guide to Caliper Painting advises repainting every 2-3 years to keep your calipers looking fresh and bold.
Final Thoughts: Transform Your Wheels with Caliper Painting
Painting your calipers is a simple yet transformative upgrade for your vehicle. This Guide to Caliper Painting provides the essential steps, tips, and safety measures to achieve a professional finish at home. Whether you choose DIY or professional services, caliper painting is a cost-effective way to enhance your vehicle’s style, protect its components, and express your personality.
Get Professional Caliper Painting Services
If you want guaranteed results without the hassle, professional detailing shops like Adams Coatings offer expert caliper painting and full detailing services to keep your car looking showroom-ready. Their team ensures precise preparation, high-quality paint application, and long-lasting protection. For more detailed information about brake calipers and their functions, visit Wikipedia’s article on Brake Calipers.